How to Perform a Prescribed Burn: Tools and Equipment Part 2
How to safely burn a pasture, field of grass - controlled prescribed burn CRP
Conducting a Prescribed Burn
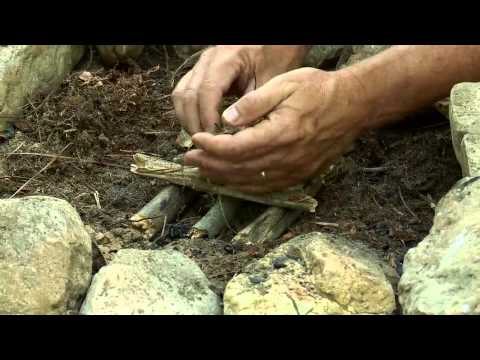
Total Outdoorsman: The Best Way to Start a Fire
How To Fix An Ugly Lawn | For Beginners
POURING FIRE FROM A CAN
SIOSA: Prescribed Burn Fire Break Basics
The Business of Burning